
A few months ago, I was struggling to keep my own schedule and tasks organized.
I tried using various paper planners, apps, and calendars, but nothing seemed to stick.
One day, while browsing Pinterest for inspiration, I noticed how many beautiful and practical digital planners people were sharing and saving.
That’s when the idea hit me: why not create my own digital planners and sell them online?
I started small, designing a simple productivity planner using Canva, focusing on clean layouts and user-friendly formats.
At first, I listed my planner on Etsy, not expecting much.
But after learning how to leverage Pinterest organically—pinning regularly, using the right keywords, and engaging with users—I began to see a steady trickle of traffic to my listings.
Within the first week, I earned just over $237.
Encouraged by this initial success, I expanded my planner collection to include budgeting and meal planners.
I also experimented with different designs and bundles to attract a wider audience.
As my Pinterest strategy improved, my daily visitors increased significantly, and so did my sales.
Week after week, my earnings climbed from $237 to $492, then $783.
By continuously refining my designs, optimizing my pins, and listening to customer feedback, I eventually hit over $1,024 in just seven days.
Now, my little side hustle has become a consistent source of income, and I’m excited about the potential to grow even further by exploring new niches and marketing channels.
What started as a personal need turned into a profitable online business, and I owe a lot of my success to understanding my audience and harnessing the power of organic Pinterest traffic.
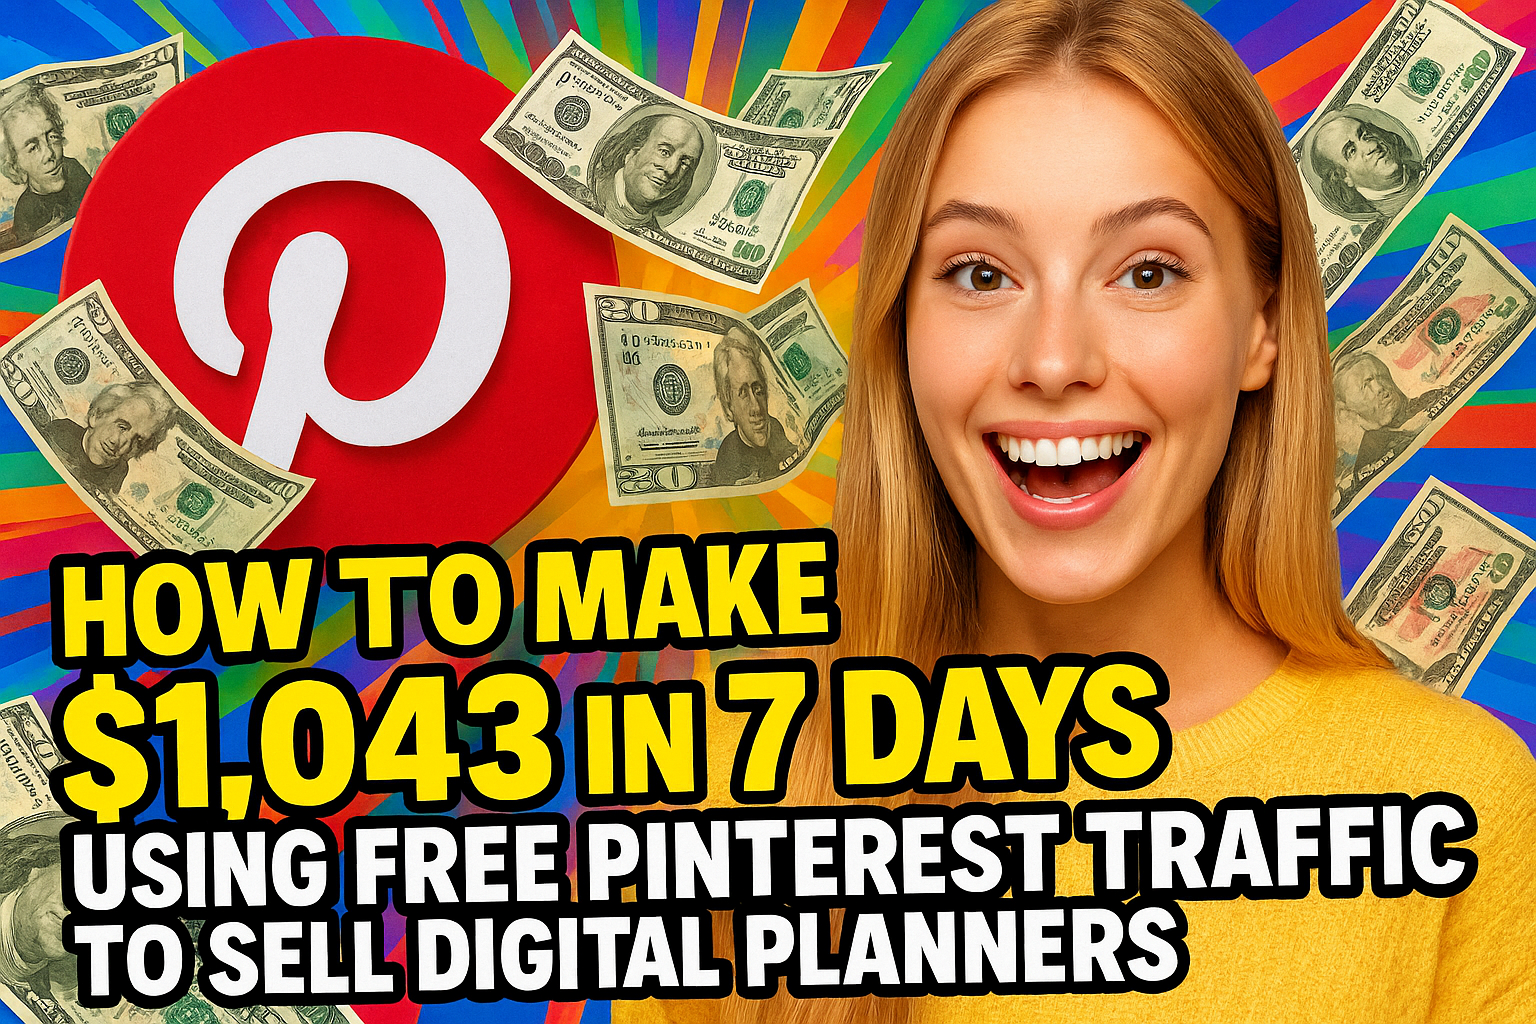
This method involves creating attractive, niche digital planners and leveraging organic Pinterest traffic to drive sales without paid ads. Pinterest is especially effective for visual products like planners due to its search-friendly, evergreen content nature.
Step 1: Design Your Digital Planners
When I first decided to dive into selling digital planners online, I knew I had to pick a niche that not only had demand but also one I could genuinely add value to.
I spent some time researching what types of planners were trending and what people seemed eager to buy.
Productivity and time management planners immediately caught my eye because so many people were searching for ways to get organized and manage their days better.
Budgeting and finance planners were another popular niche since managing money is a challenge lots of folks face.
I also noticed a growing interest in fitness and meal planners, which made sense given how health consciousness continues to rise.
Lastly, student or academic planners were something I felt comfortable creating, given my own experiences and understanding of what students need to stay on track.
Choosing the right niche wasn’t just about demand; it was about picking something I could create meaningful and attractive products for.
Once I settled on a couple of niches—primarily productivity and budgeting—I moved on to designing the planners themselves.
I didn’t have the budget or the time to hire a professional designer, so I turned to tools like Canva, which is incredibly user-friendly and versatile.
I spent days experimenting with layouts, fonts, and colors until I had planners that were not only functional but visually appealing.
I made sure they were downloadable PDFs so they could be printed or used digitally, and I even made some editable versions for people who wanted to customize them on their devices.
To appeal to a broader audience, I created multiple versions of each planner.
For example, I had a minimalist black-and-white version for those who like simplicity and a colorful, decorative version for users who want something more vibrant.
I also bundled several planners together—for instance, a productivity planner paired with a meal planner—giving buyers more value and increasing the average sale price.
Step 2: Set Up Your Sales Platform
Next, I needed a place to sell these planners.
I considered several platforms and ultimately decided to list them on Etsy and Gumroad, as both are well-known for digital products and have built-in audiences looking for exactly this kind of thing.
Setting up my stores was straightforward, but I quickly realized that having great product listings was crucial.
I put a lot of effort into writing clear, enticing product descriptions that highlighted the features and benefits of each planner.
Instead of just listing what was inside, I focused on how these planners could help people organize their lives, save time, and reduce stress.
Alongside the descriptions, I created attractive preview images that showed the planner pages in use, often with lifestyle shots or screenshots of the actual planner pages.
These visuals were important because they helped potential buyers envision how they could use the planners themselves.
Step 3: Build a Pinterest Profile Optimized for Traffic
With my planners ready and my stores set up, I turned my attention to marketing—specifically, organic Pinterest traffic.
I created a Pinterest business account dedicated solely to my planners.
From the start, I knew Pinterest’s visual and search-based nature made it an ideal platform for driving traffic to my listings.
I spent time designing branded vertical pins that measured 1000 by 1500 pixels.
These pins showcased different planner layouts, usage tips, and even lifestyle images with overlay text that grabbed attention and conveyed clear messages.
To improve the visibility of my pins, I used targeted keywords in the pin titles, descriptions, and boards.
I researched what keywords people were using when searching for planners and made sure to include them naturally in my content.
To amplify my reach, I joined relevant group boards and Tailwind communities where fellow pinners shared content in similar niches.
This helped get my pins in front of more eyes quickly.
Step 4: Create a Consistent Pinning Strategy
The key to success on Pinterest, I learned, was consistency.
I committed to pinning between 10 to 15 pins every day.
I mixed pins I created for my planners with repins from related accounts, like productivity bloggers or budgeting influencers, to keep my boards active and engaging.
I used Tailwind to schedule my pins in advance, which saved me a ton of time and ensured my content was distributed evenly throughout the day.
As I went along, I monitored which pins performed best—those with higher saves, clicks, and impressions—and created similar designs to capitalize on that success.
I also made sure to engage with anyone who commented or followed my boards to foster a sense of community, which helped build trust and visibility.
Step 5: Drive Traffic to Product Listings
All of this effort was focused on driving traffic directly to my product listings.
Each pin included a link that led either to my Etsy shop, Gumroad page, or a dedicated landing page I had set up.
I made sure the call-to-action in each pin description was strong and clear, using phrases like “Download your planner now” or “Organize your life with this planner today.”
To further support this traffic, I created helpful blog posts and free downloadable content related to planning, which I also pinned and linked to my product pages.
This strategy helped capture the interest of people who weren’t quite ready to buy but wanted useful resources, allowing me to nurture them into customers over time.
Step 6: Convert Visitors into Buyers
Turning visitors into buyers required some additional tactics.
I offered limited-time discounts and bundle deals to encourage quick purchases.
These promotions created urgency and helped boost sales during slower periods.
On my product pages, I made sure to include testimonials and reviews from early buyers, which helped build credibility and trust for new visitors.
After the sale, I followed up with customers via email, thanking them and suggesting related planners or upcoming products.
This not only increased repeat sales but also allowed me to gather valuable feedback that I used to improve future products.
In just seven days, these efforts paid off.
I saw over 5,000 unique visitors coming to my listings via organic Pinterest traffic, and my conversion rate hovered around 3 to 4 percent.
This translated to more than 30 digital planners sold and total earnings of about $1,043.
The best part? I didn’t spend a dime on paid advertising.
My growth was entirely fueled by organic reach, smart pinning strategies, and creating products that genuinely helped my audience.
Looking ahead, I’m planning to expand my product line with new planner styles and bundles.
I also want to collaborate with influencers and bloggers for Pinterest shoutouts to broaden my reach.
Eventually, I might try running Pinterest ads once I have a stable stream of organic traffic, which should help scale my business even further.
Additionally, I’m considering launching a blog or YouTube channel to share planner tips and tutorials, which will funnel even more traffic to my Pinterest and sales pages.
Reflecting on this journey, I realize that success came from a mix of creativity, research, consistent effort, and listening to my audience’s needs.
If you’re interested in diving into the digital planner business, focus on creating high-quality products, build a Pinterest strategy with patience, and engage genuinely with your potential customers.
The results can be incredibly rewarding.